In this blog, you will learn to add an eye icon in the password field in HTML. We will also use JavaScript to make the icon eye icon work. An Eye icon in the password field will help the users See/Hide the password that they have entered.

Let’s make its code step by step and walk through the full process:-
HTML & JavaScript code used:-
We will use a form tag to add the fields like username, submit button, and password where the eye icon will be applied. Now to add an eye icon in the password field we first need to import an awesome font stylesheet into your webpage. For which we will use this link:-
<link rel=”stylesheet” href=”https://cdnjs.cloudflare.com/ajax/libs/font-awesome/5.13.0/css/all.min.css”>
Now that we have imported all the awesome font stylesheet, we will now add an eye icon with the help of <i> tag. For which we will use the:-
<i class=”far fa-eye” id=”tooglepass”></i>
To set the eye icon on the password field we will use inline CSS and add these styles in the <i> tag:-
margin-left: -30px; cursor: pointer;
Our HTML and CSS code is ready, Now it’s time for JavaScript code which will help in the functioning of the eye icon. So the code for JavaScript is:-
The full code to add the Eye icon in password field in HTML is:-
Index.html
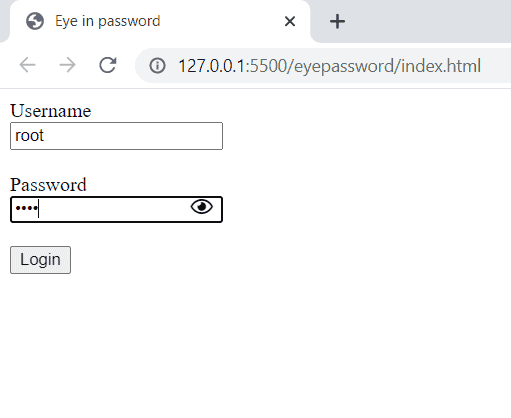
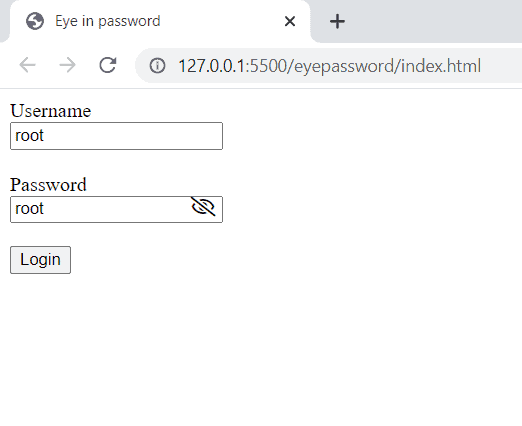
OUTPUT
Hope this blog post was helpful to you and you have got the answer to your question. Also, If you want to learn about forms or creating a login page. You can check out our detailed post in them. They will be helpful to you.
Thank you for visiting our blog. If you have any doubts about any coding questions then let us know in the comments section we will answer them as soon as possible.