Hello Coders, In this blog, you will learn to add audio in HTML. Adding audio is very easy in HTML. This audio feature is currently introduced in HTML5. So let’s start the process and learn it step by step:-

Audio tag in HTML is used to add sound files such as music or audio to the website. As this is a new feature in HTML5 so there are only three supported files which are:- mp3, wav & ogg.
Steps to add audio in HTML:-
1. Open your code editor and type all the basic HTML tags:- HTML, Head, Title, and Body.
2. Now to add audio in the HTML code we will use the <audio Controls> tag. So type this tag in the body tag.
3. After the audio tag, we will add a source tag under it. In which we will use the src and type properties of it. In src, we will type the address of the audio file and in type, we will set it according to the file extension. So the syntax for this is- <source src=“ address ” type=“ ”>
Different values of type for different values of extension are –
| Audio Format | Type |
|---|---|
| mp3 | audio/mpeg |
| ogg | audio/ogg |
| wav | audio/wav |
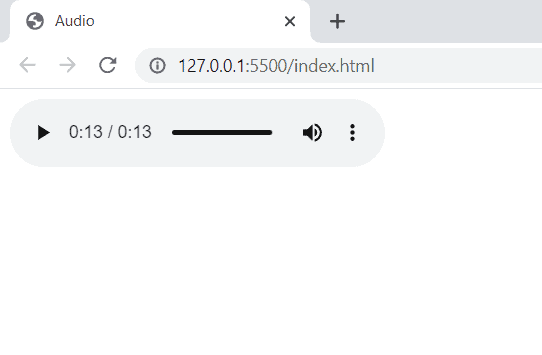
4. We have written the full code for adding the audio in HTML. So your full code and output will look like this:-
Index.html
OUTPUT
Also, you should have noticed that we have written Your browser does not support the HTML audio tag. This will work when the browser will not support the HTML5 new audio tag or audio file type. So here is the list of browsers that will support or not support different extensions.
| Browser | mp3 | wav | ogg |
|---|---|---|---|
| Google Chrome | Yes | Yes | Yes |
| Mozilla Firefox | Yes | Yes | Yes |
| Internet Explorer | Yes | No | No |
| Opera | No | Yes | Yes |
| Apple Safari | Yes | Yes | No |
Different Attributes of Audio Tag
| Attribute | Description |
|---|---|
| Controls | It defines that the audio will be displayed with play/pause button. |
| Autoplay | It defines that the audio will play itself as soon as it gets ready. |
| Muted | It is used to mute the audio output. |
| Loop | It defines that the audio will start over again, every time it gets completed. |
| Src | It defines the Source Address of the audio file. |
| Preload | It specifies the author view to upload audio file when the page loads. |
Hope this blog was helpful to you and you have found the answer to your question. Check out our more Blog on HTML to clear your more doubts.
Thank you visiting our blog. If you have any doubts coding questions then let us know in the comments section, we will answer it as sson as possible.