In this blog, you will learn to add a Star rating in HTML. We will only use HTML and CSS to add a star rating in HTML. Star Rating in HTML is useful to take reviews from the user and it also makes the website more user interactive. Let’s learn about it:-

So the HTML code for this project is very simple but The CSS style sheet little complex. We will only use div, input, types, and many more form attributes and properties. For the CSS you will see we have used internal CSS and a large feature of each tag is used in the sheet. You will understand the CSS once you read the style sheet.
The code for Star Rating in HTML is:-
Index.html
<!DOCTYPE html>
<html>
<head>
<title> Star Rating </title>
<style>
.rating {
float : left;
height : 46px;
}
.rating : not(:checked)>input {
position : absolute;
top : -9999px;
}
.rating : not(:checked)>label {
float : right;
width : 1em;
overflow : hidden;
white-space : nowrap;
cursor : pointer;
font-size : 40px;
color : rgba(145, 141, 141, 0.486);
}
.rating : not(:checked)>label: before {
content: ‘★ ‘;
}
.rating>input: checked~label {
color: red;
}
.rating: not(:checked)>label: hover,
.rating: not(:checked)>label: hover~label {
color: red;
}
.rating>input: checked + label: hover,
.rating>input: checked + label: hover~ label,
.rating>input: checked~label: hover,
.rating> input: checked~label: hover~label,
.rating> label: hover ~ input : checked ~ label {
color: red;
}
/* Modified from: https://github.com/mukulkant/Star-rating-using-pure-css */
</style>
</head>
<body>
<div class = “rating”>
<input type = “radio” id = “star5” name = “rate” value= “5” />
<label for = “star5”> 5 Stars </label>
<input type = “radio” id = “star4” name = “rate” value =“4” />
<label for = “star4”> 4 Stars </label>
<input type = “radio” id = “star3” name = “rate” value = “3” />
<label for = “star3”> 3 Stars </label>
<input type= “radio” id =“star2” name= “rate” value= “2” />
<label for= “star2”> 2 Stars </label>
<input type= “radio” id= “star1” name = “rate” value= “1” />
<label for= “star1”> 1 Star </label>
</div>
</body>
</html>
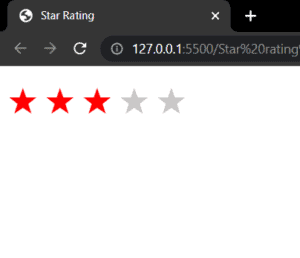
OUTPUT
I hope this blog post was helpful and that you have got an answer to your question. Check out more posts to get solutions to more questions.
Thank you for visiting our blog. If you have any doubts about any coding questions then let us know in the comments section we will answer them as soon as possible.